

Contributor: Keik
Centralized clouds are convenient… until they’re not. Files get deleted, accounts get locked, prices go up, and your data is basically owned by Big Tech. 😅
Hippius (Subnet 75 on Bittensor) makes decentralized storage easy, cheap, secure, and yes, you can start in under five minutes.
Why Hippius?
Decentralized storage has been around for a while, but most options are either clunky, hard to access, or just confusing. Hippius changes that, and the result? Ownership, simplicity, and decentralization without the headache of complexity.
Basically, you own your data, but without the usual headache of Web3 tech. And the best part? It’s ridiculously affordable
Basic guide on how to use Hippius (step-by-step)
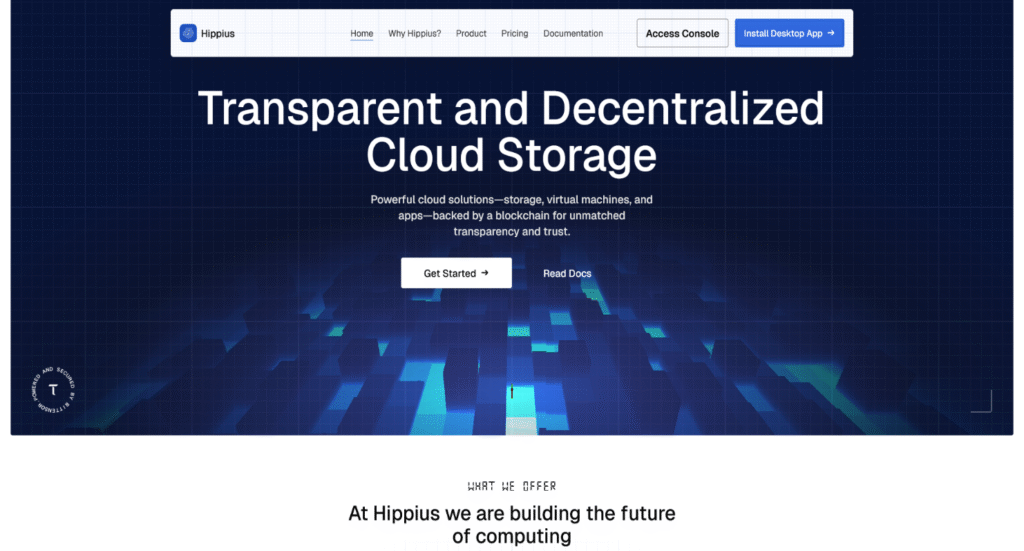
Open https://hippius.com/
On the homepage, we can see some basic information about what Hippius is, as well as a Get Started button.
As we press the Get Started button, the next step is to create our account.
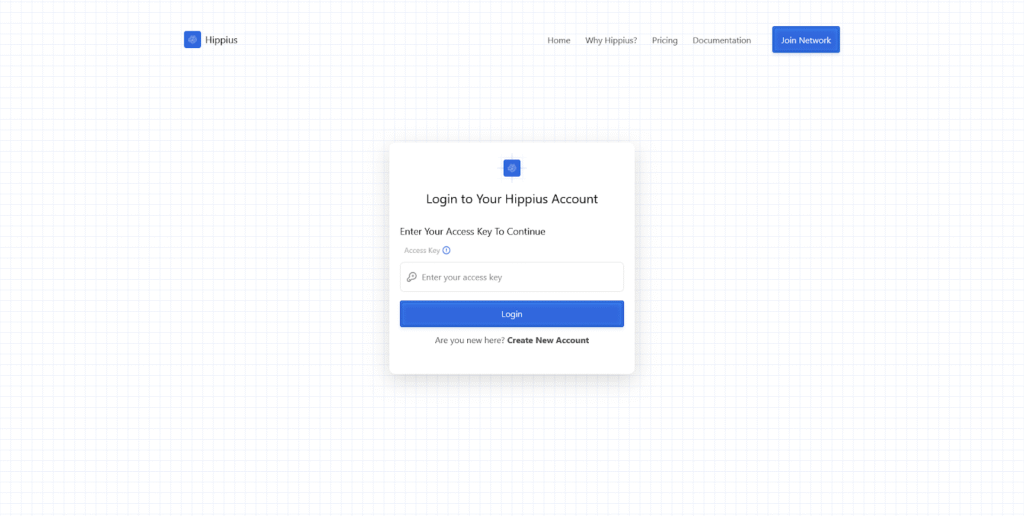
When we press Create New Account, a unique password appears — a 12-word continuation, like a seed phrase 😉. This is the only way to connect to your account, so make sure you save it securely. Keep in mind that you cannot recover or reset your password if you lose it. Then we use that password to log in and start using the product.
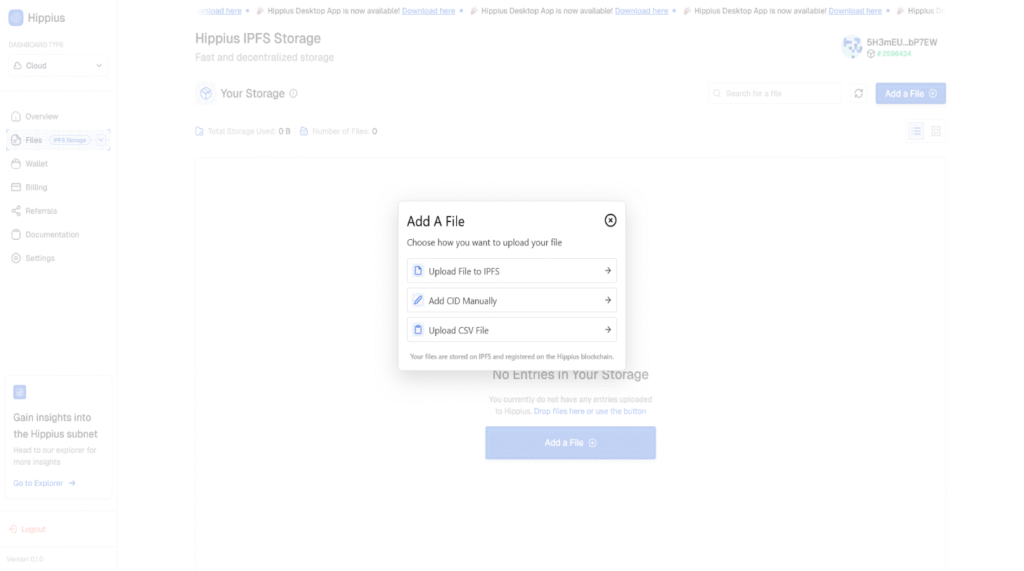
Moving on now to the product’s dashboard:

On the left side, we can see different sections:
- Basic overview of our account
- File dropdown for IPFS or S3 storage
- Wallet & Billing
- Settings and Documentation for any questions
In the central part of the homepage, we can see two buttons to either manage our IPFS files or S3 files. I will explain later what the difference between these two options is.
Before we can start uploading files to either storage option, we need to top up our account. (Great things aren’t free in this life, but Hippius makes sure they are super cheap 😉.)
To top up, go to the left sidebar and click Billing. Here, you can either add credits with TAO or via a credit card, safe and securely. You can choose a one-time top-up or a subscription plan, which is super cheap.
- Example: 3 dollars for 1 TB per month — perfect for personal backups.
- Other options go up to 450 dollars per month for 150 TB, ideal for large businesses.

Stripe company ensures the procedure is easy and fast, and voilà, your subscription is activated, and you can start uploading files to Hippius decentralized cloud storage.
Now you can choose either:
- IPFS → Files uploaded are public and unencrypted by default
- S3 → Storage buckets are private by default but can be configured for public access.
For example, we go to IPFS storage and press Add a File.
If you want to upload privately, you’ll need to download the Hippius application from the website’s homepage.
Otherwise, you can use an API key, which you can easily create your own in the Settings tab, to upload directly through the browser.
I personally downloaded the application because I like accessing my storage without opening the browser.
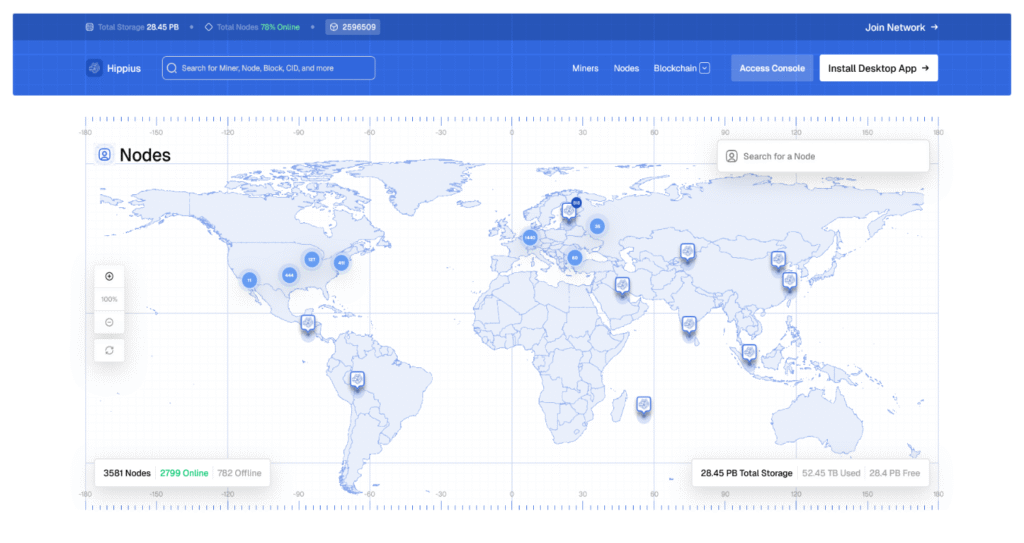
If you want to explore where all these miners (storage providers) are and how the network works, click Go to Explorer on the left sidebar. It will redirect you to https://hipstats.com/ — interesting if you want to know more about how decentralized storage operates.
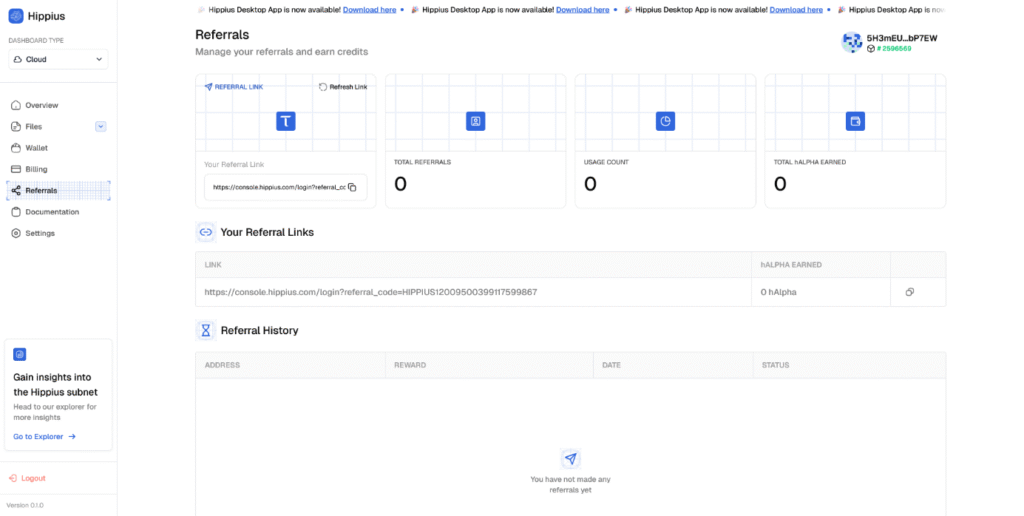
Finally, if you want to share this amazing find with your friends, colleagues, or corporate contacts 😉, you can use your referral code, which you can generate in your Hippius account dashboard under Generate Referral Link.
I hope you found this guide useful. If you want to start using Hippius right now, click the link below to start your journey:
https://console.hippius.com/login?referral_code=HIPPIUS12009500399117599867
Enjoyed this article? Join our newsletter
Get the latest Bittensor & TAO ecosystem news straight to your inbox.
We respect your privacy. Unsubscribe anytime.


Be the first to comment